

Today, I'm trying out a technique - Watercolouring with Tissue Paper. Perhaps you did this as a child… I don't personally remember, although I'm sure I did. I saw this technique done on a show my daughter was watching called Mister Maker. Actually, I started paying attention to it half way through, so I kinda guessed at it when my daughter and I ran downstairs to try it out. :) Read first how we did it, and then check out the bottom of the post to see my afterthoughts…
Before you start, make sure you:
- have a waterproof surface (we used a plastic table cloth)
- have your tissue paper pieces ready to go
- have a paintbrush and water on hand
- work in a place where you can leave your project to dry
Here's how we did it:
We first wet our paper (Stampin' Up! Whisper White card stock) with a paintbrush and water.
Next, we scrunched our pieces of tissue paper on top of the wet paper.
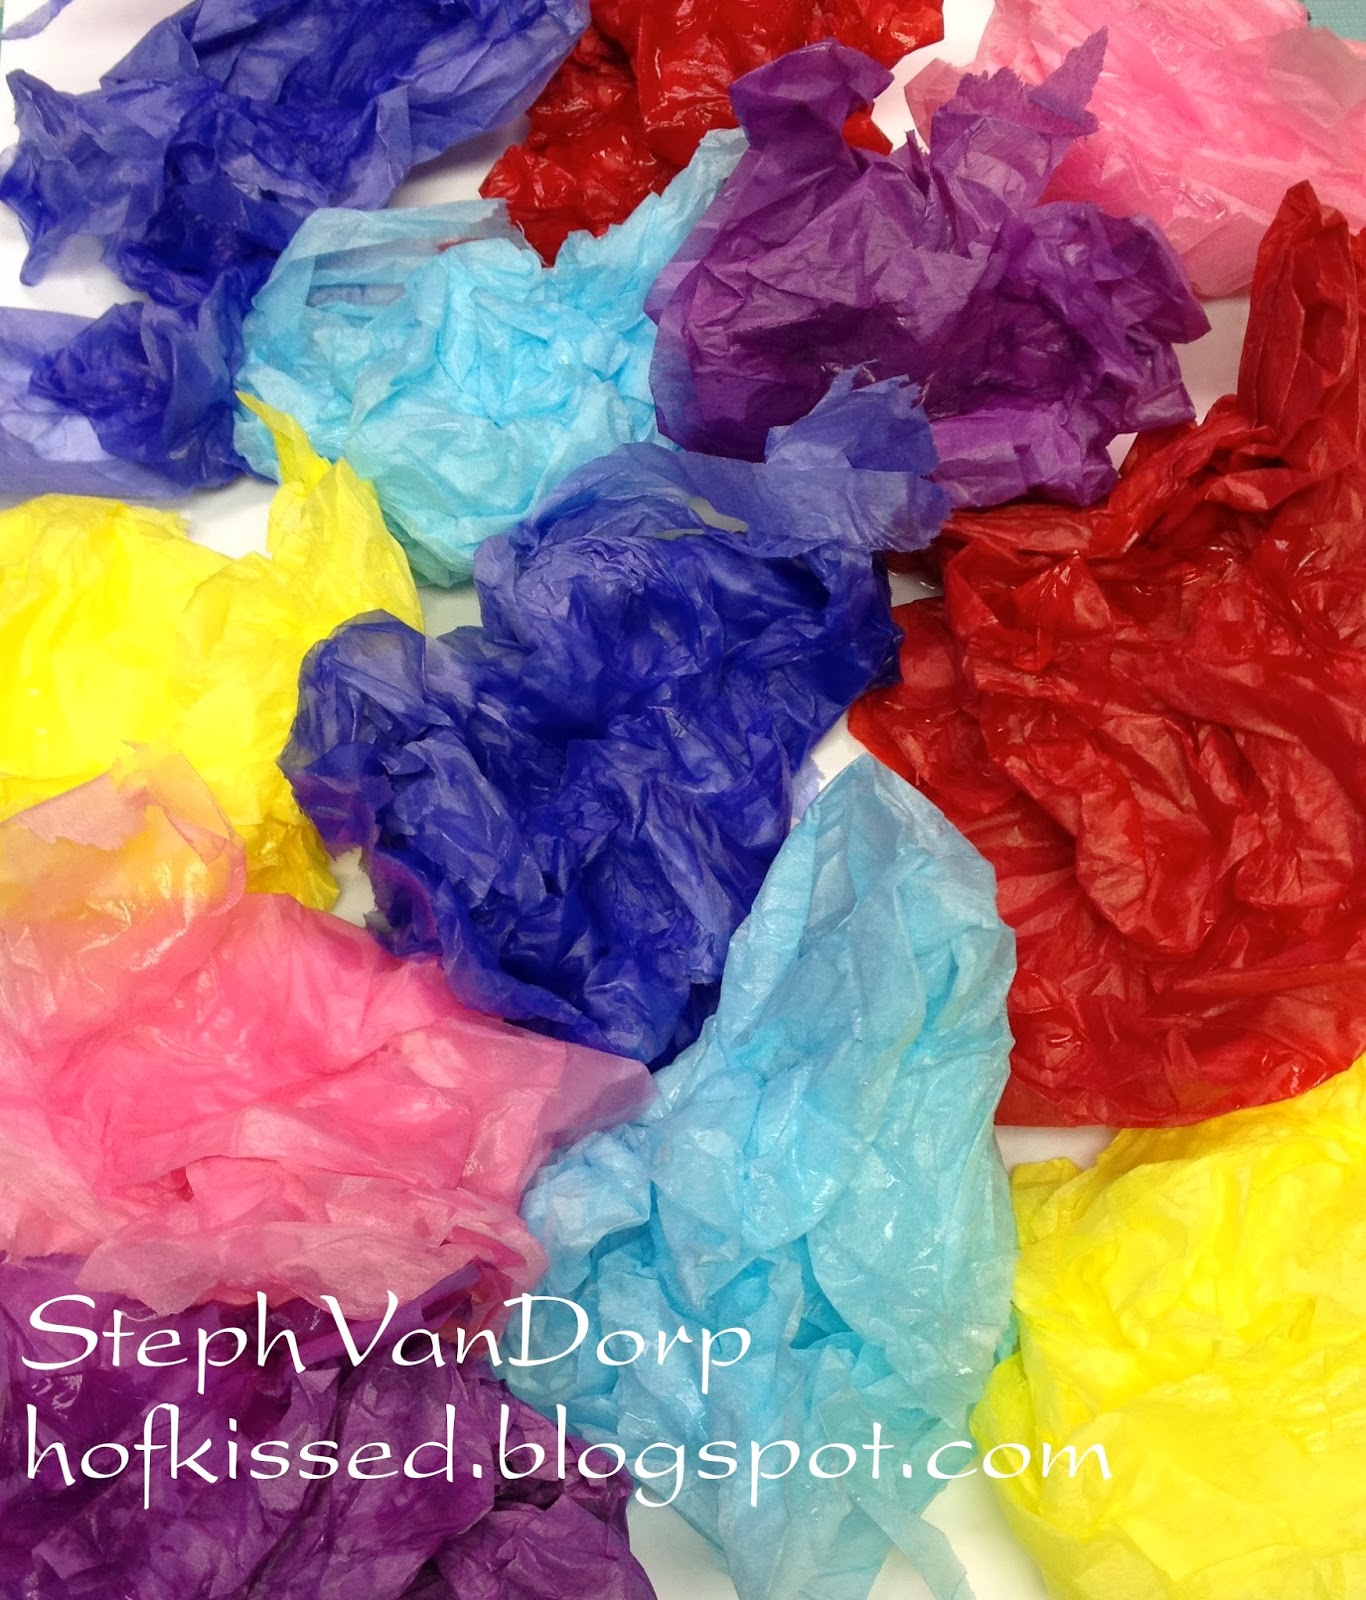
Then we took our paintbrush and water again and completely soaked the tissue paper to get the colours to bleed onto the paper.

After that excitement, we tried to wait patiently to let the project dry completely, overnight. (Read that I was not very patient and tried to dry it with my heat gun, kept peeking at the results and then removed the tissue paper prematurely.)
5. The final result:

OK, so clearly, this project requires patience! Upon further investigation (thanks Google!), you shouldn't use acid-free tissue paper because it is bleed proof. I have all my tissue paper gathered in one place and have no idea if it is or isn't. I just thought my lighter colours didn't work… but it could also very well be that I just didn't wait for them to bleed. :)
Next time, I will try watercolor paper (although the card stock seemed OK) and will use a water spray bottle instead of a paintbrush. Oh, and wait patiently overnight!
Check back tomorrow to see the project I made with my paper.
Until next time, stay crafty!
Steph
Very cool technique, Steph! Gonna have to try this one...thanks for the inspiration!!
ReplyDelete